Posit cloud
Posit cloud is an online service that allows you to run RStudio in your web-browser. You can sign up for a free account which should be sufficient for this class. The free account has 25 compute hours per month. If you need more you can pay 5 dollars a month for 75 hours.
Some advantages to using posit cloud are that it runs recent versions of R and Rstudio, and should work “out-of-the-box” with minimal technical issues. It should be totally sufficient for the needs of our class.
Get a posit cloud account
Login screen
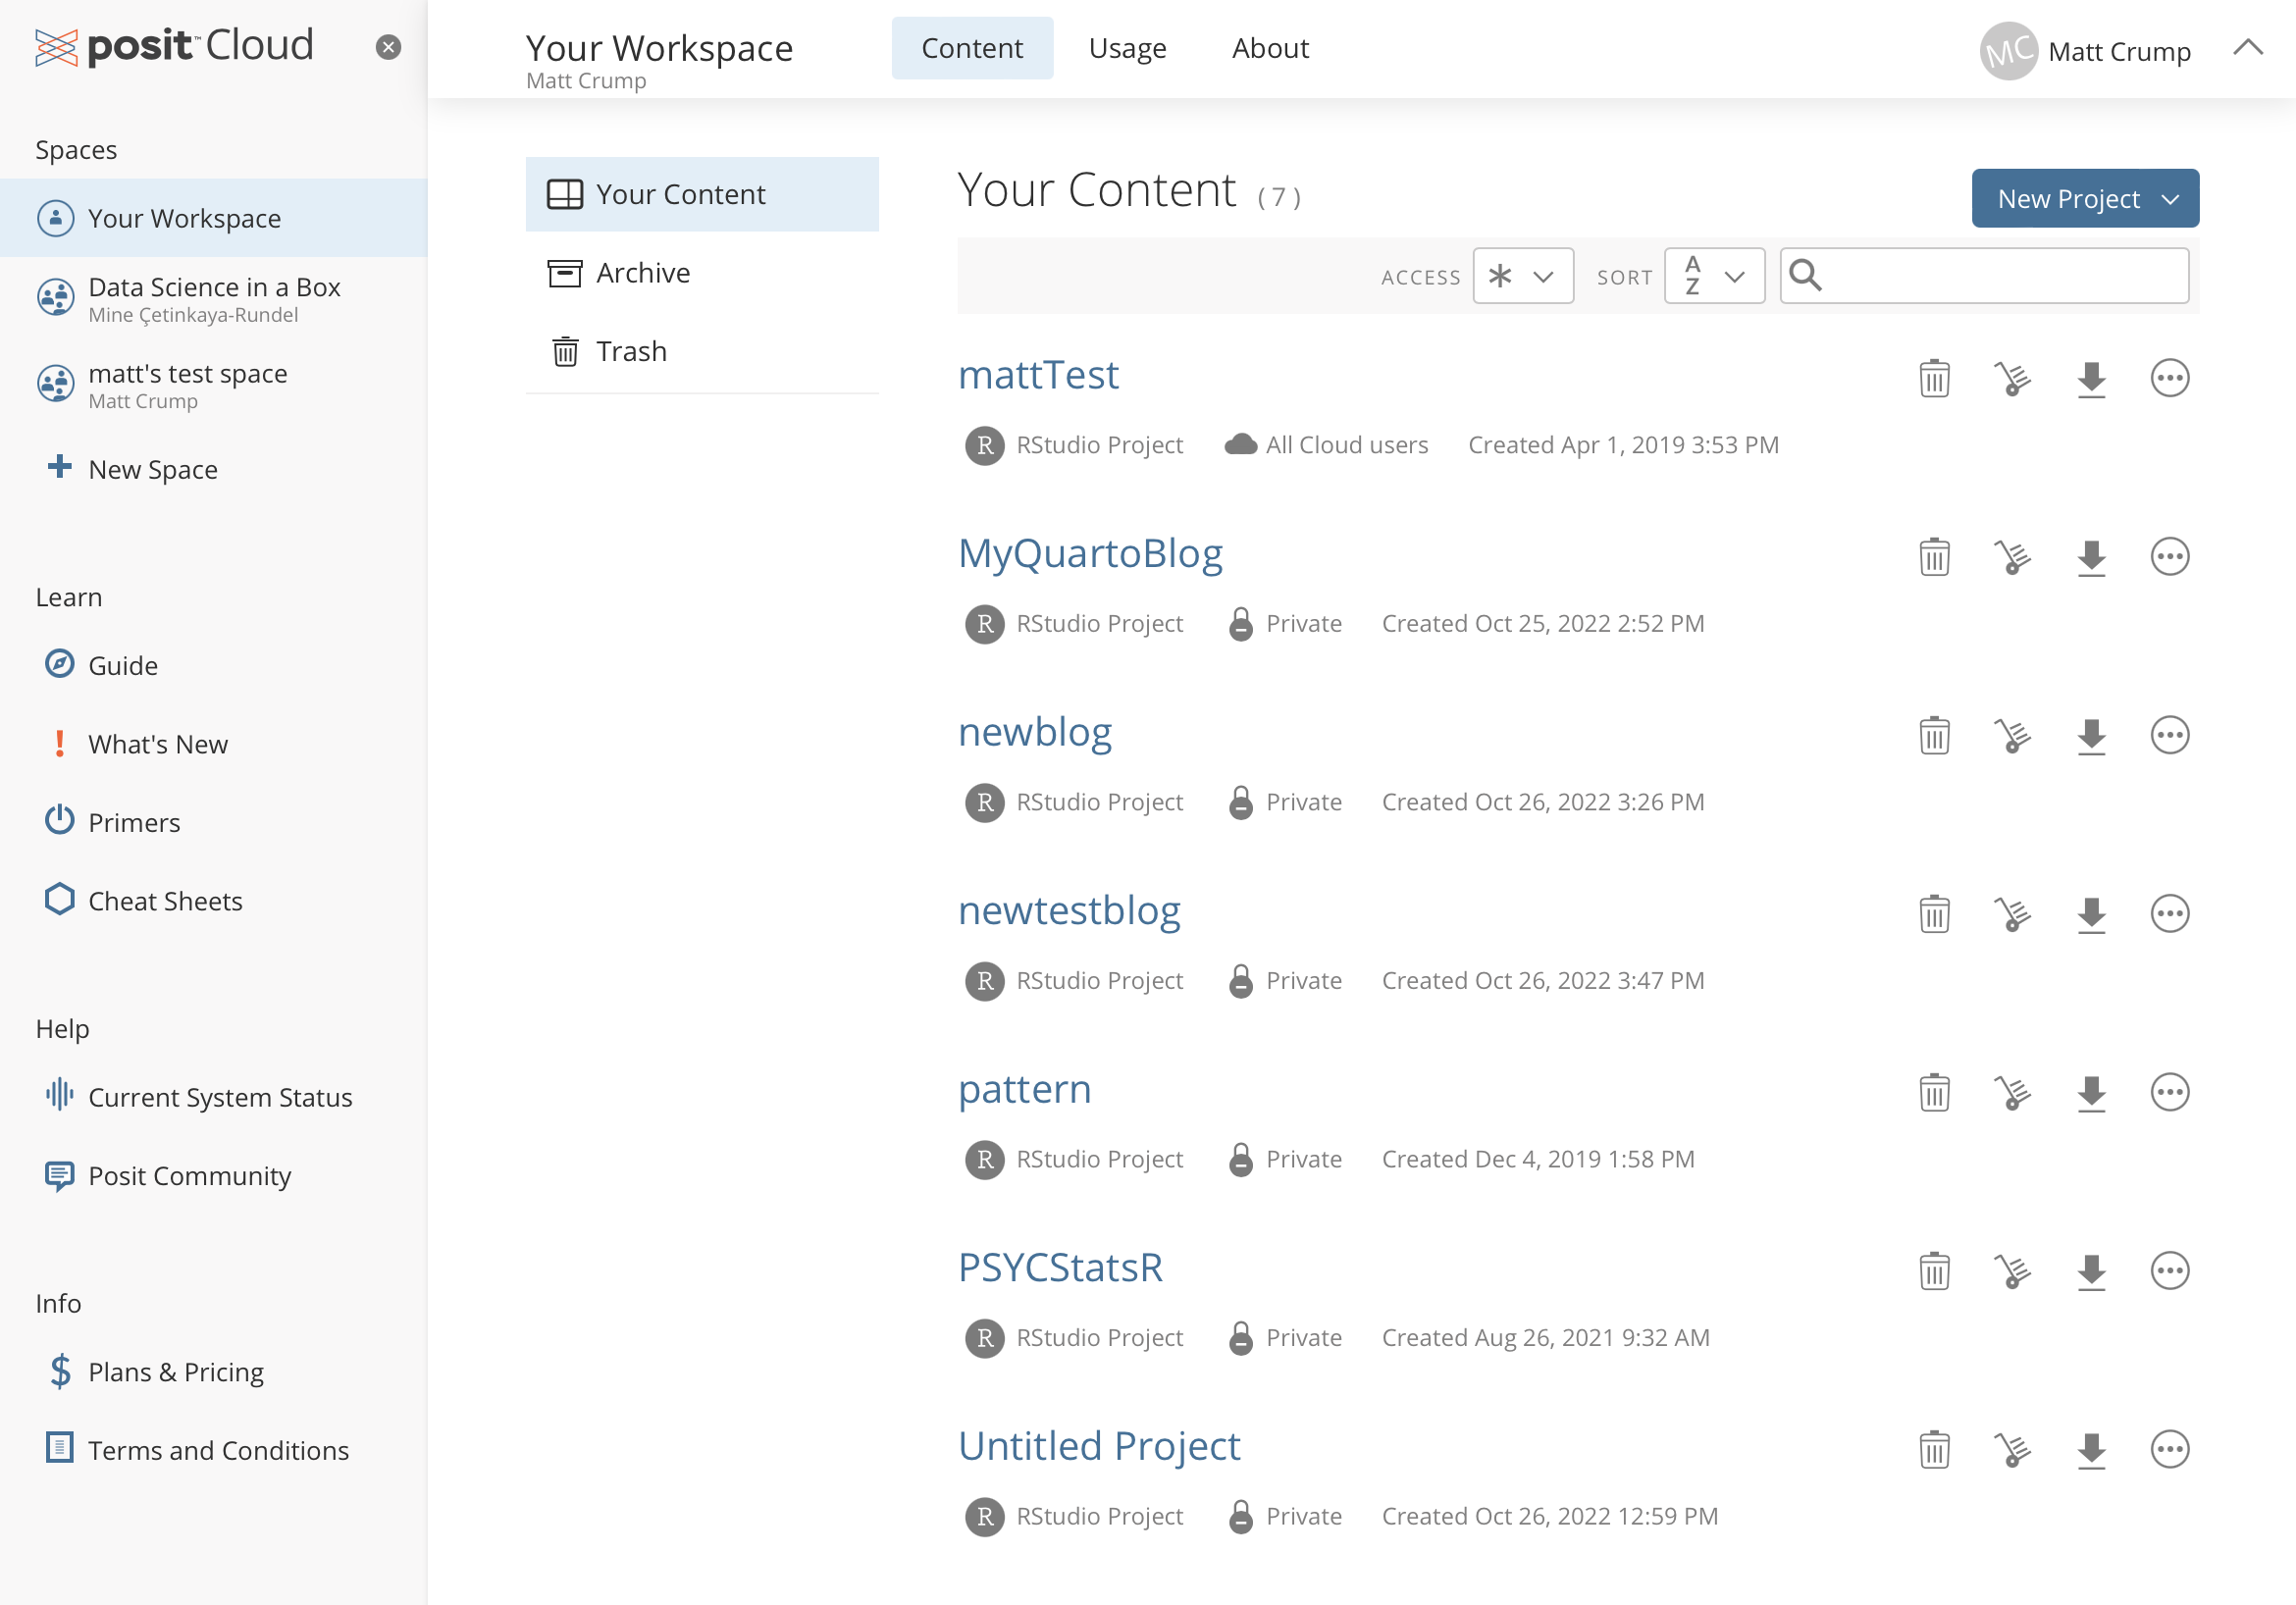
My login screen looks shows a list of my existing R studio projects. Clicking on any of them will open Rstudio and load the project.
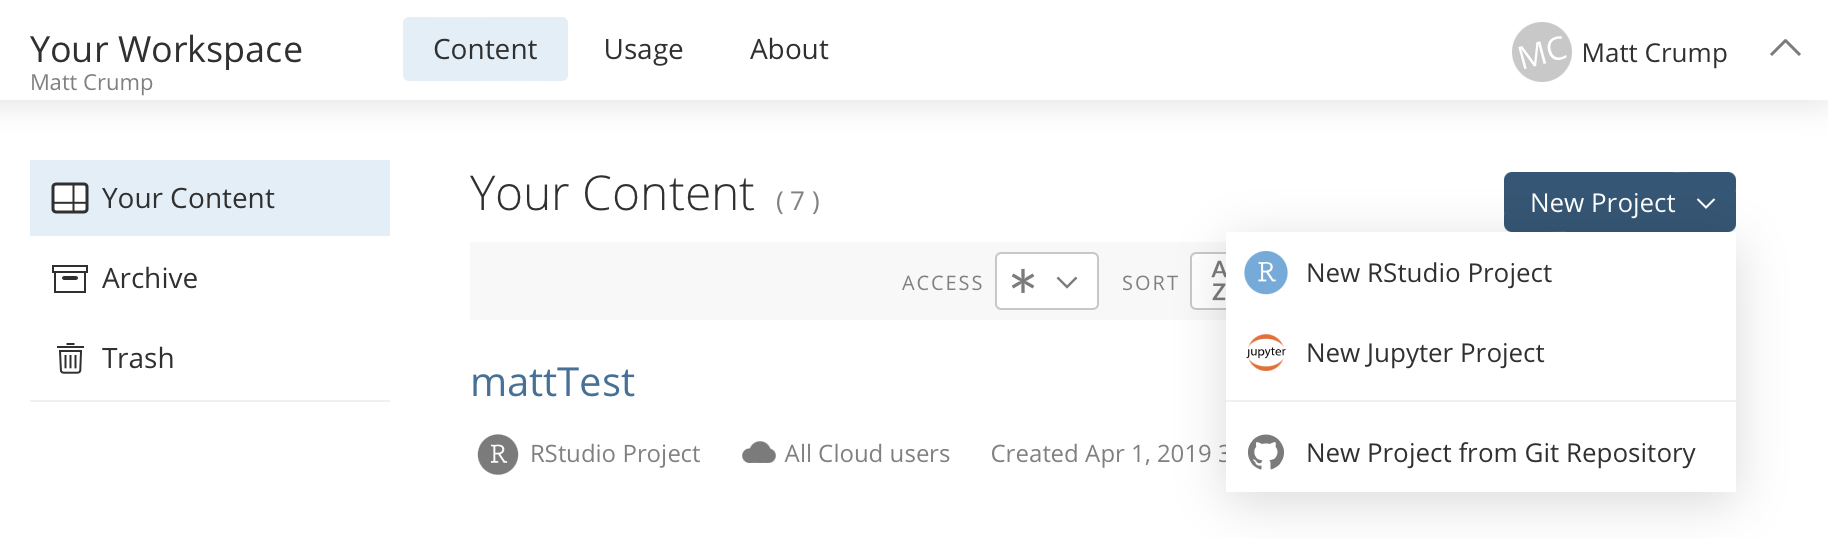
New Project
Click the “New Project” Button to make a new project, and choose “New Rstudio Project”.
Your project will start deploying, this could take 15-30 seconds:

And when you are done, you should see a new R studio application in your browser.

Give your project a name (up at the top), and then get started! You can do all of the things you would normally do. You can also install packages that you need, and they will be available next time without having to install them again. But, everytime you make a new project, you will start fresh.
The rest of this resource goes through a few minimal examples of getting started.
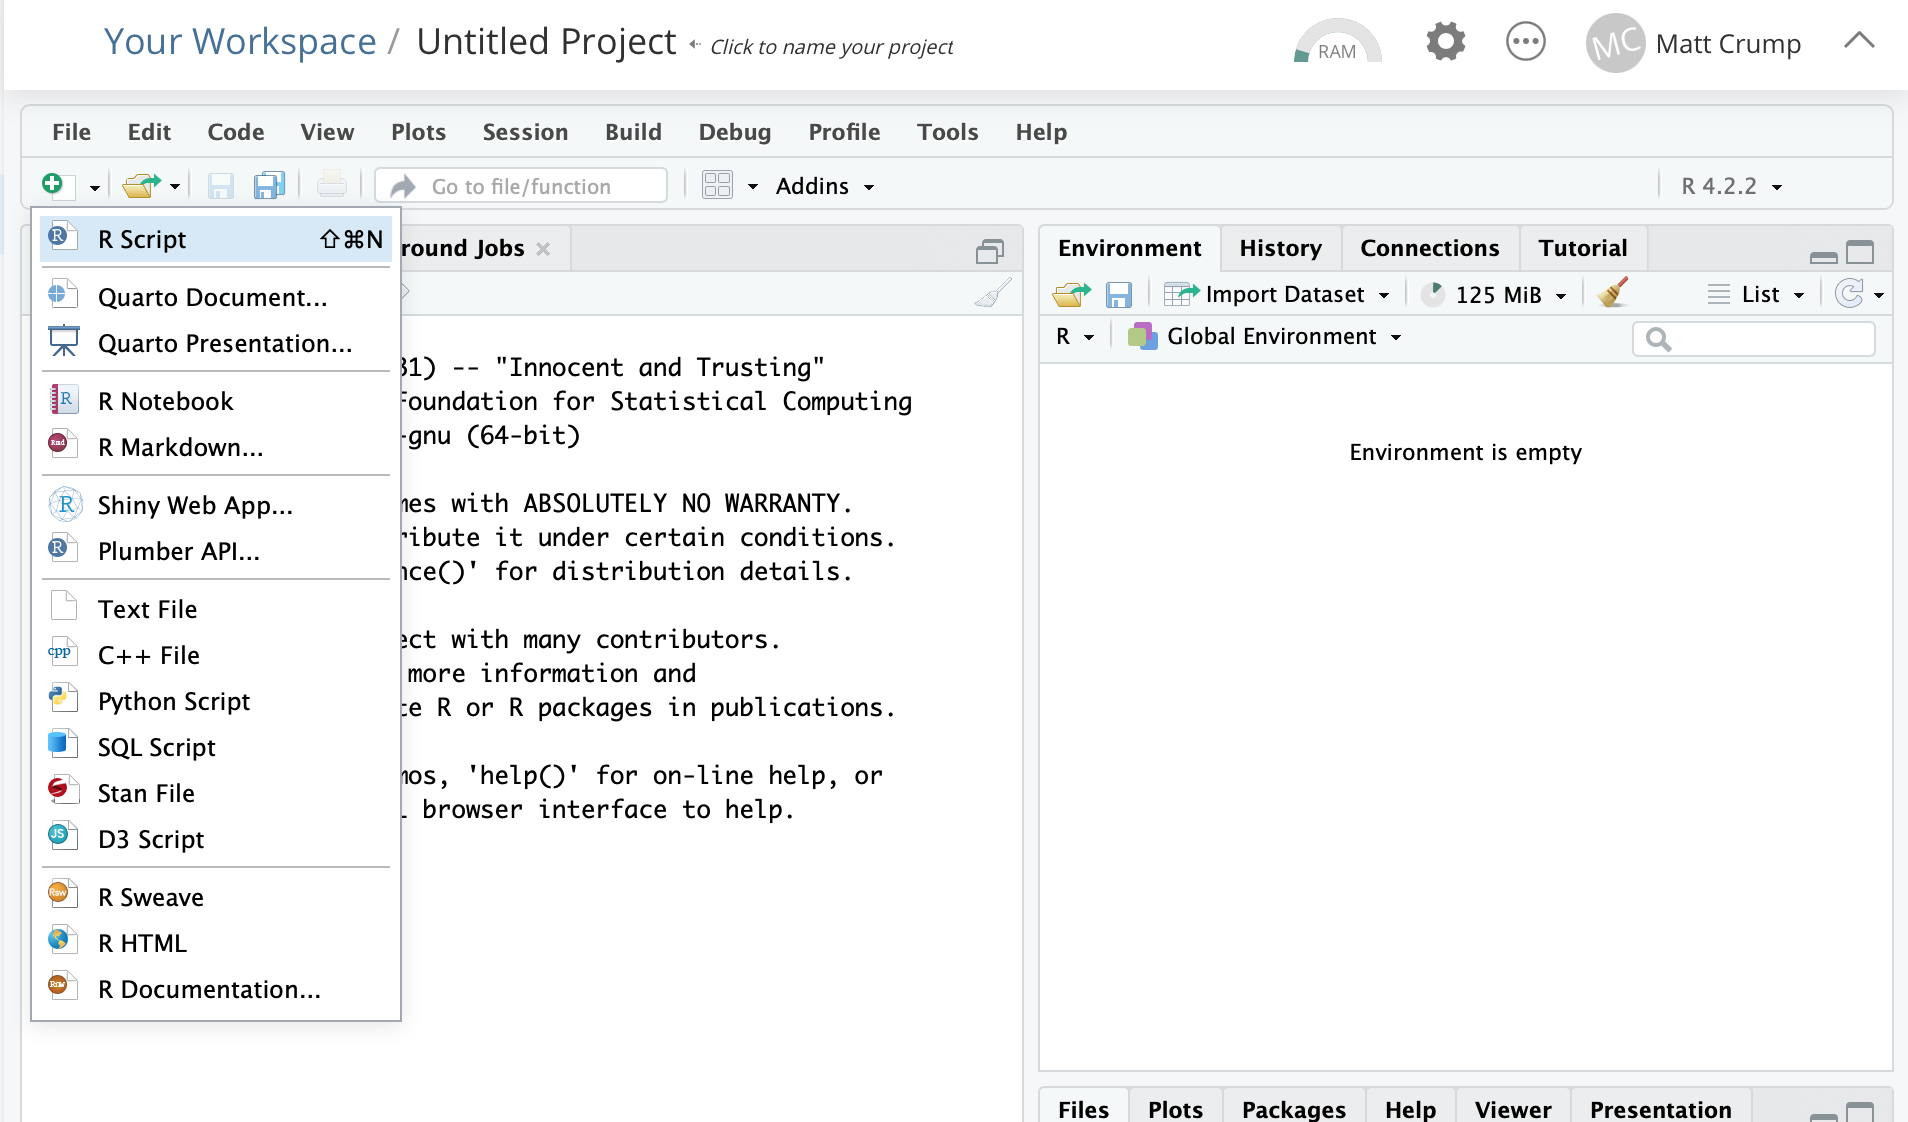
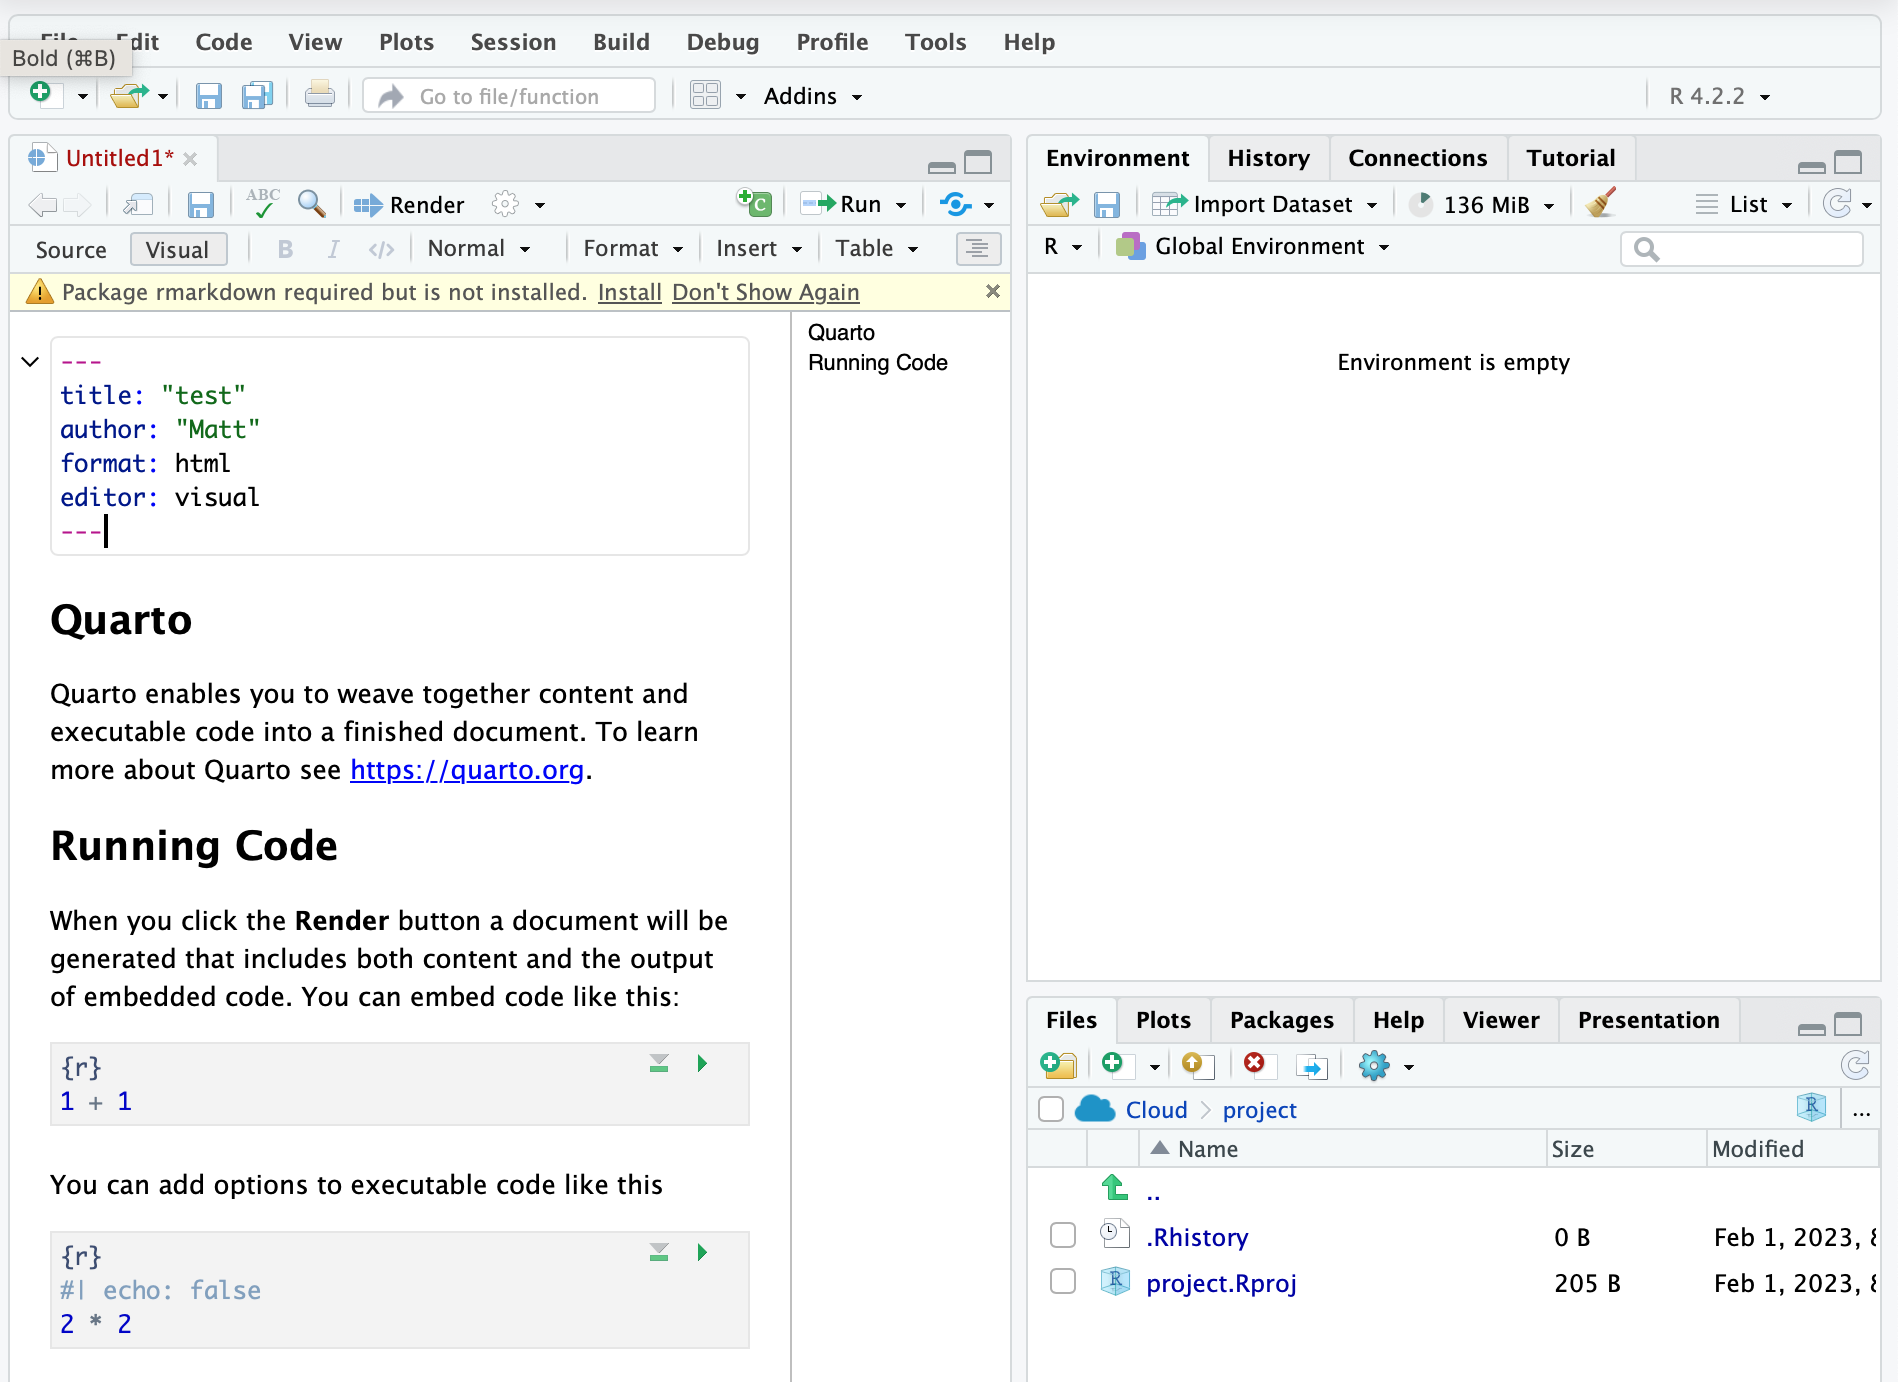
Test R Markdown or Quarto
Click the green circle with a plus to make a new document, choose quarto document.
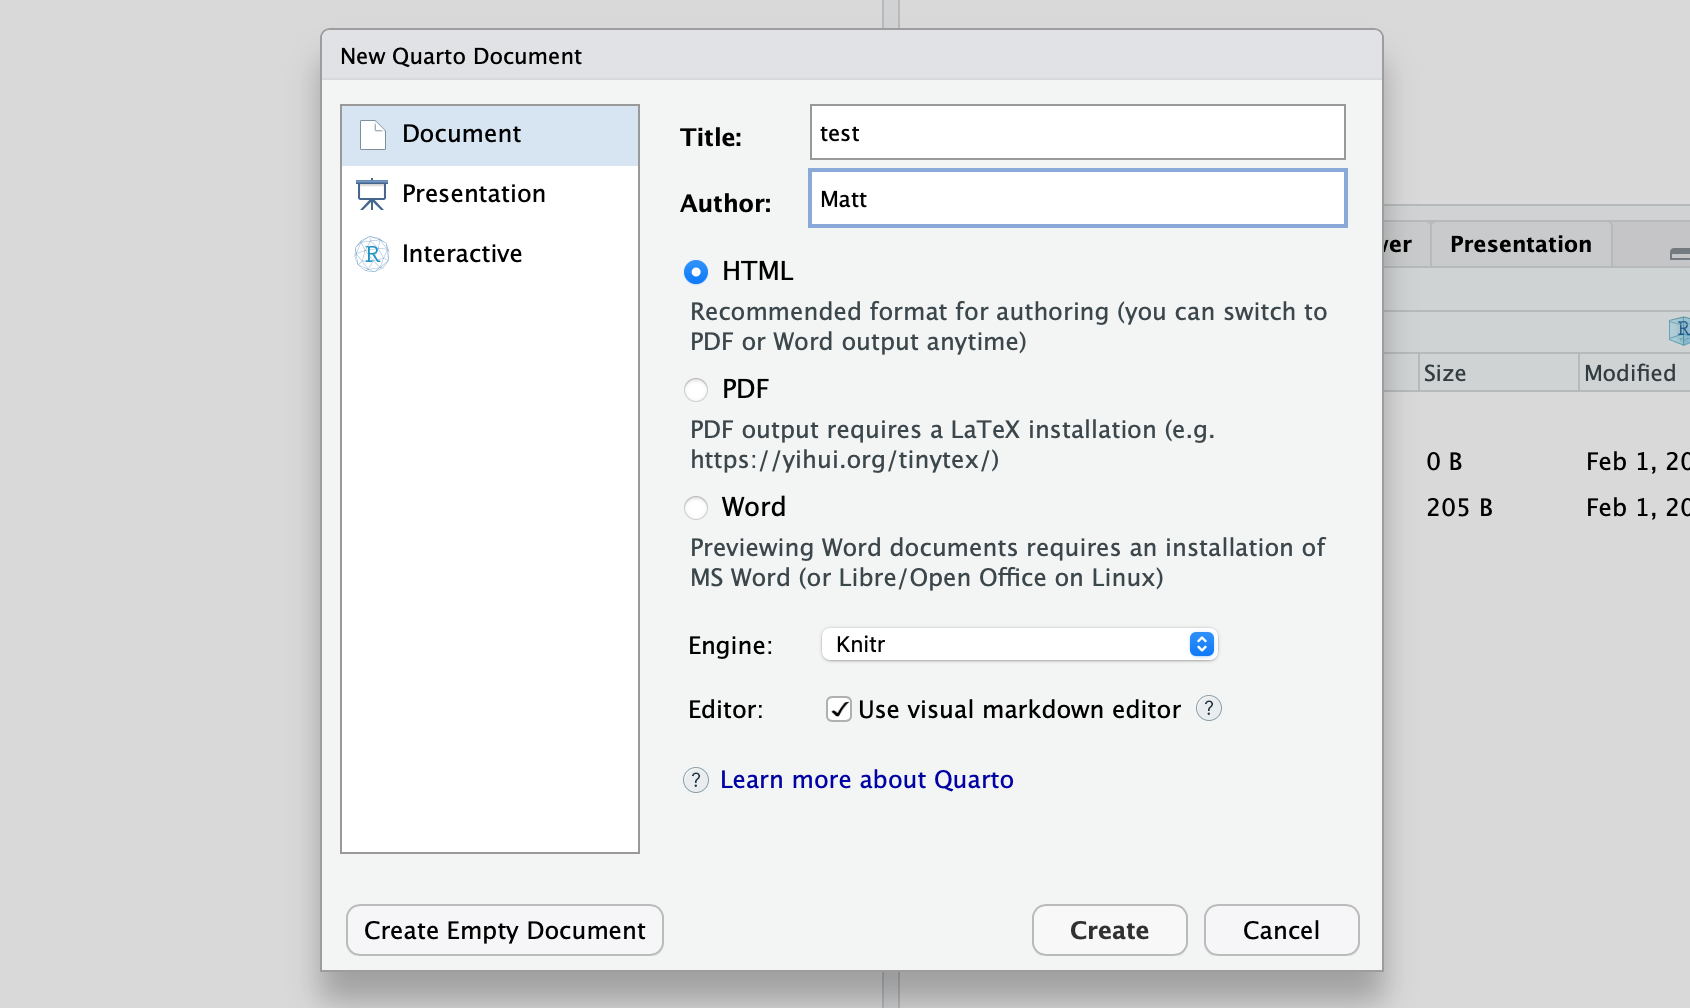
Give the document a title, and you can call yourself the author. Then press Create.
You will see the template quarto document, and a message that “rmarkdown required but not installed”.
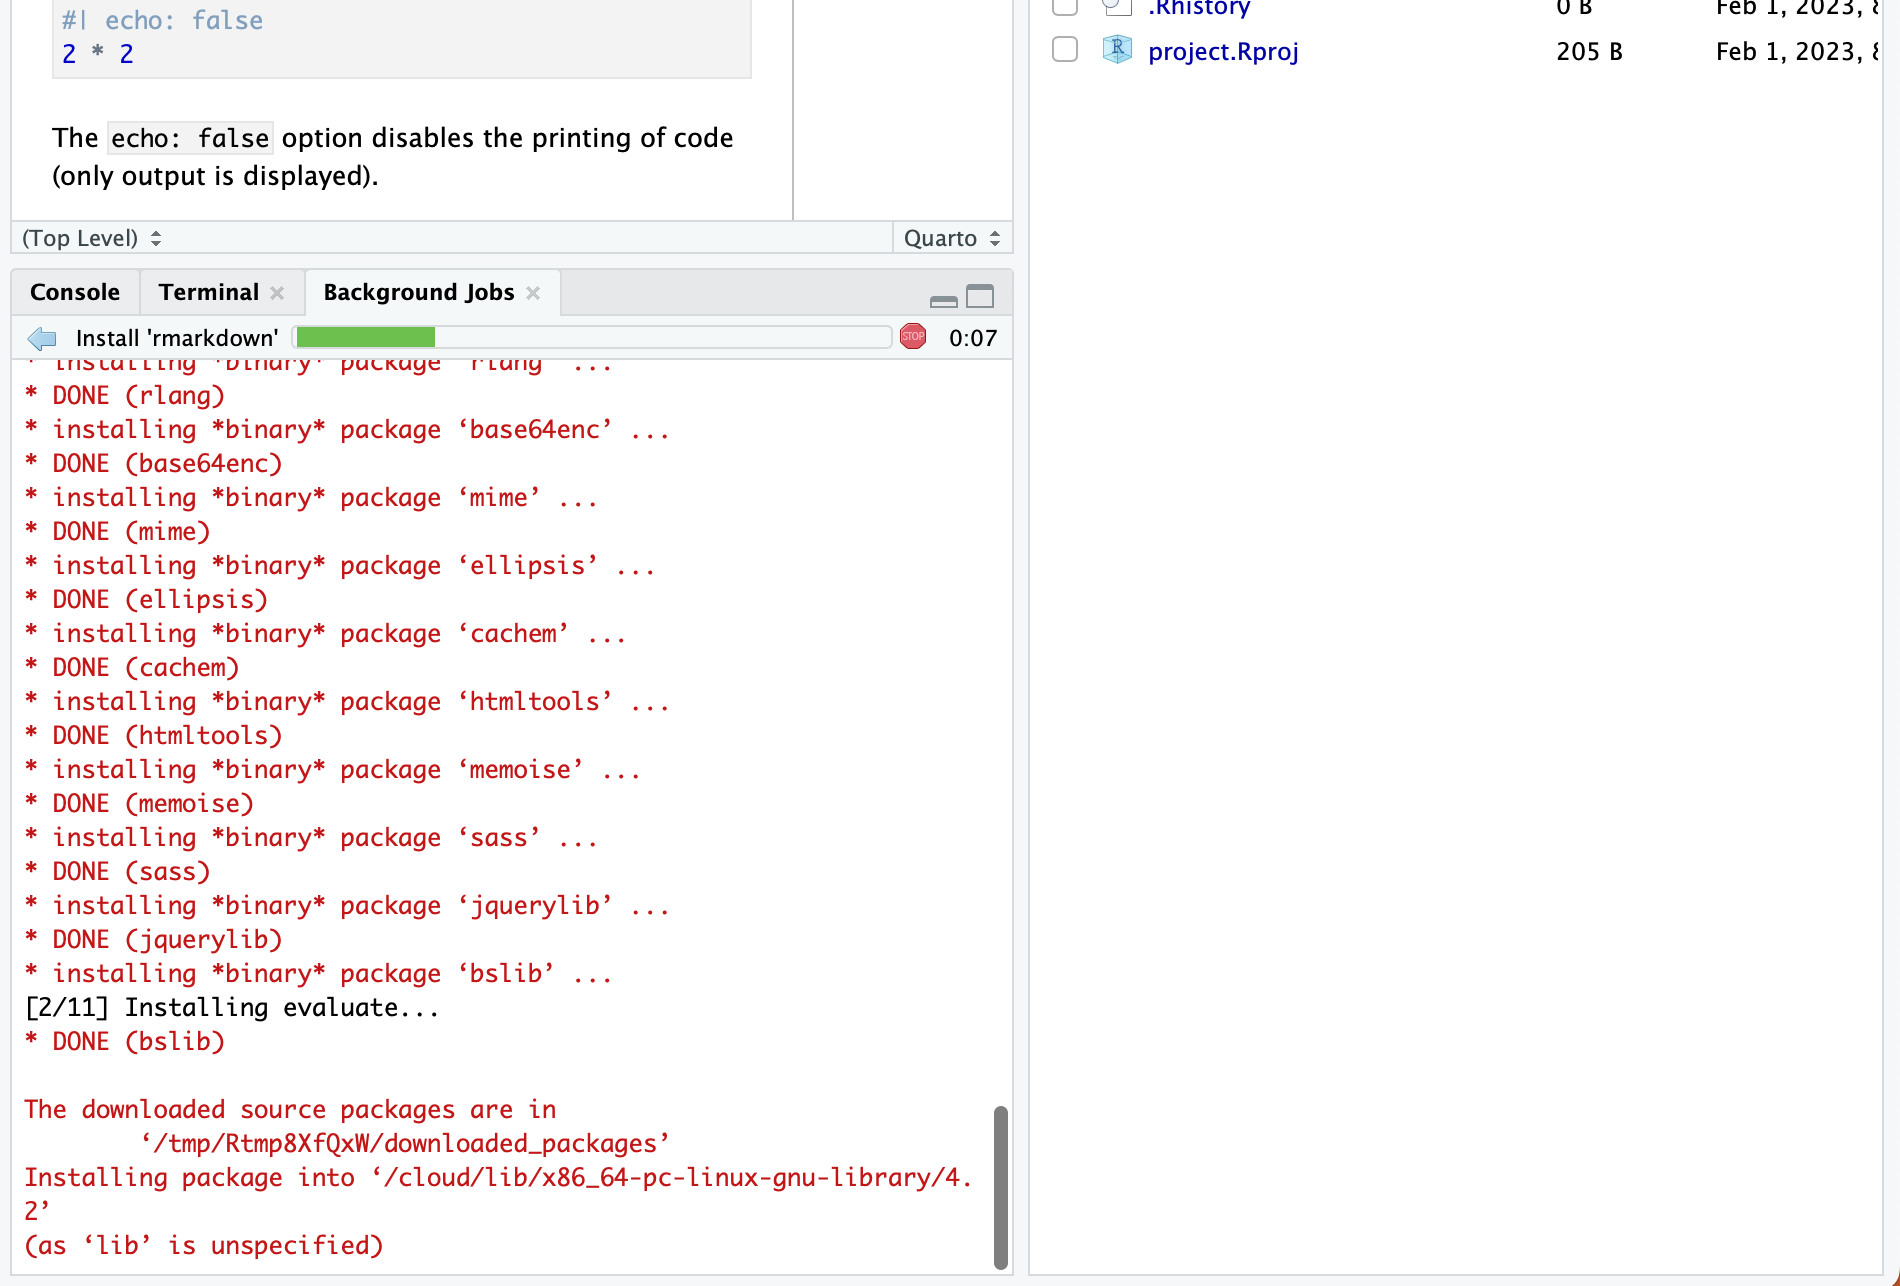
Install rmarkdown by clicking the underlined install link. You should see the installation take place in the lower left panel. Takes about 30 seconds.
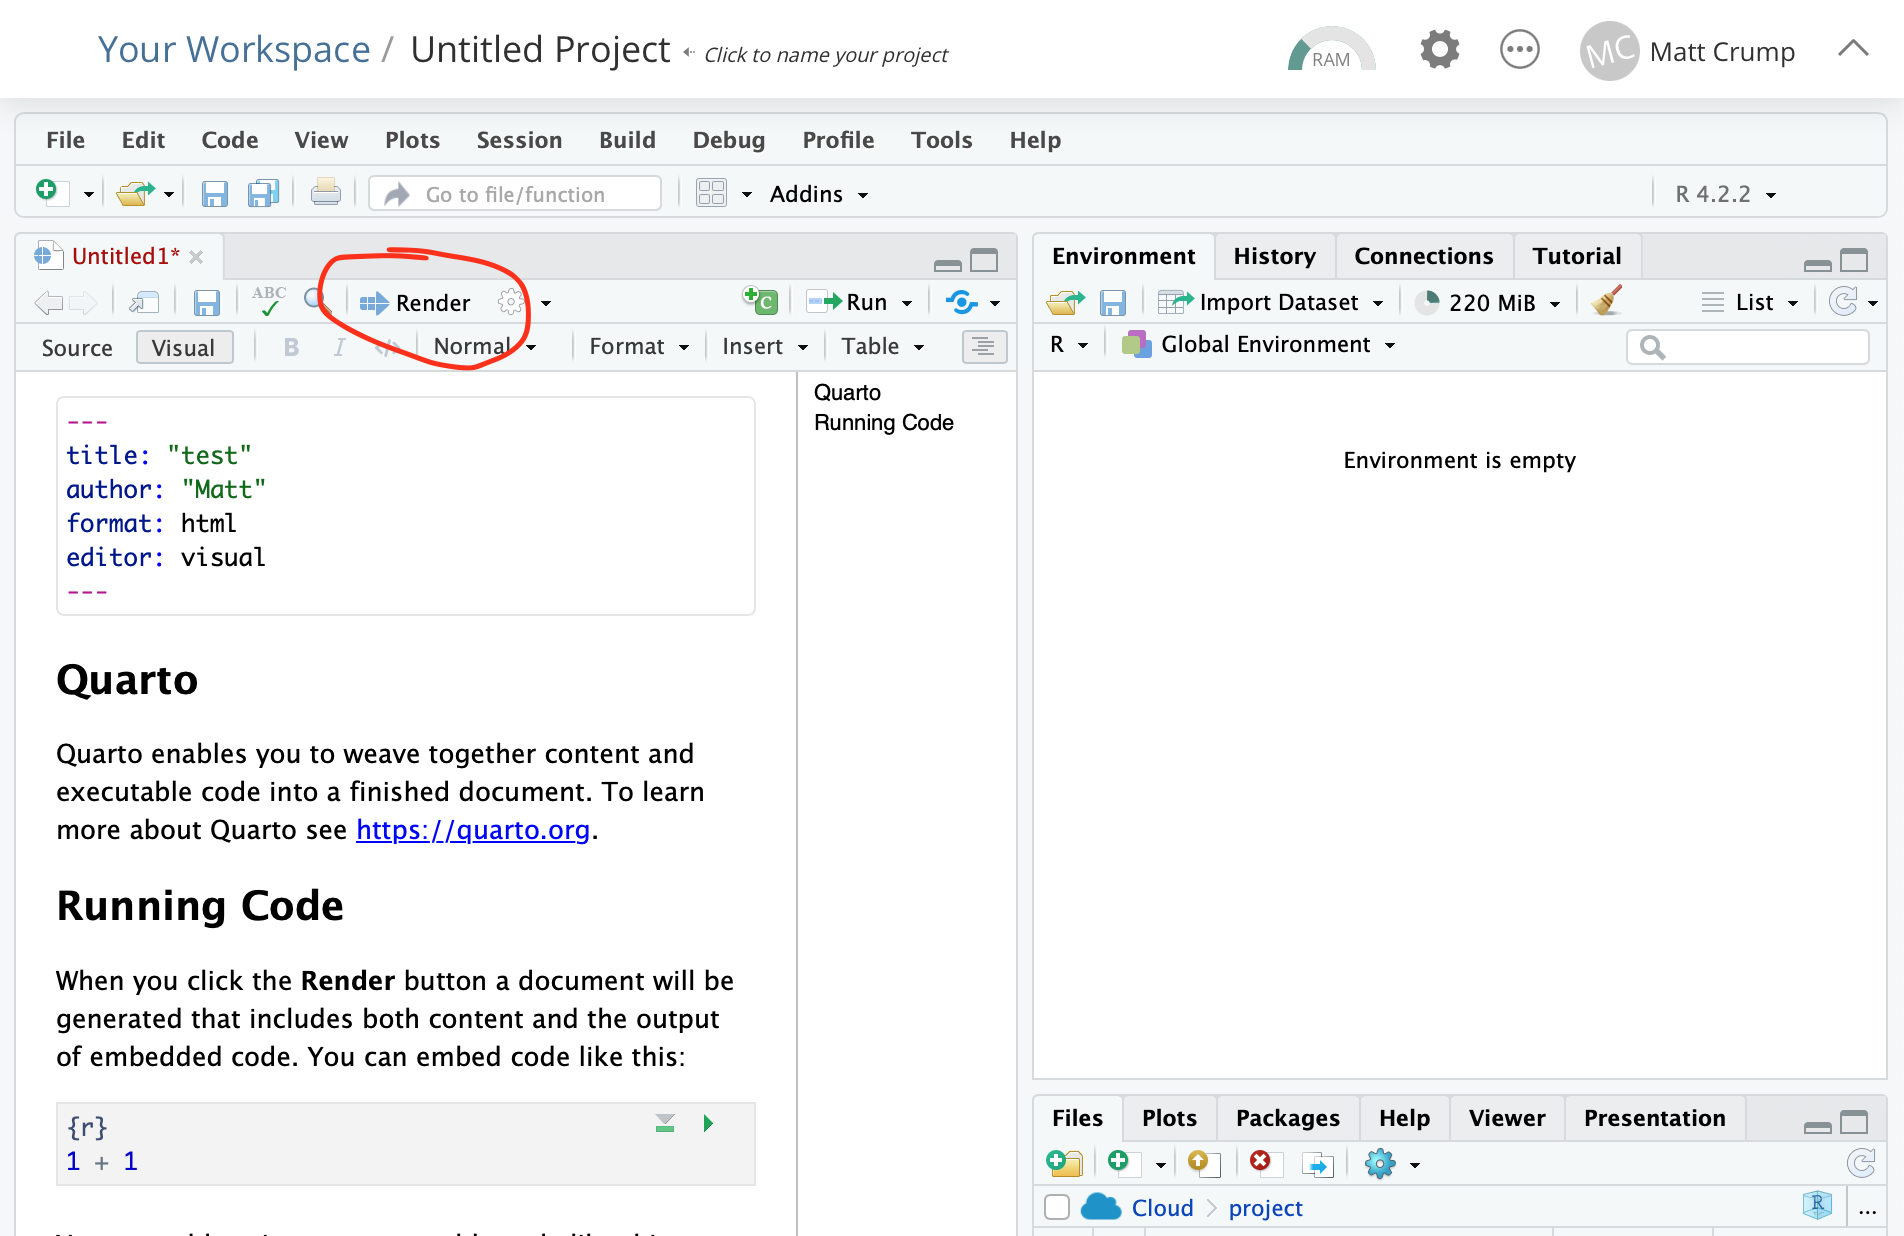
Once the installation finished, it’s time to see if quarto documents can be rendered to HTML. Click the render button:
You will be asked to save the file. I chose the name “test”. This will save the file “test.qmd” into my project folder.
Next, I get a message saying a pop-up window was blocked, and I can’t see the output.
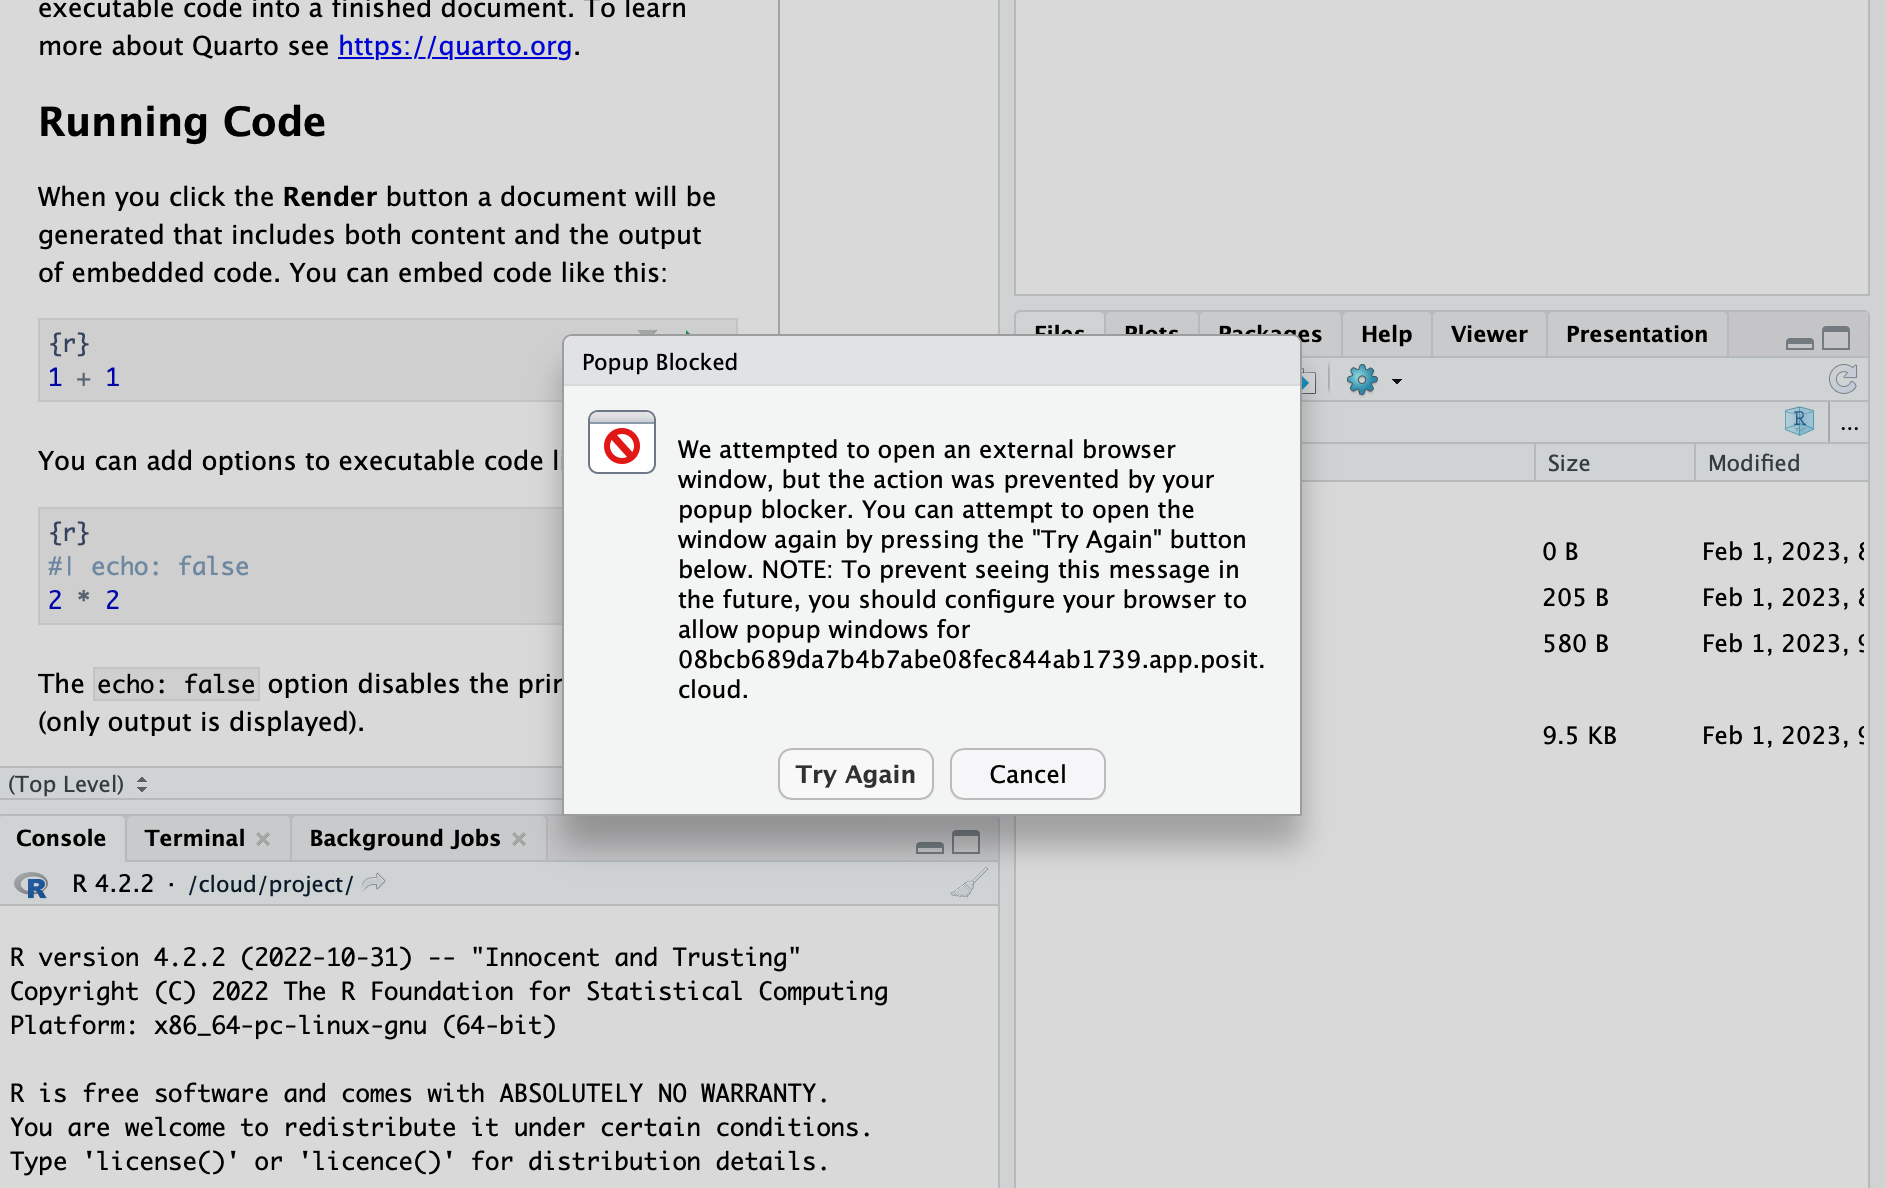
This OK, everything likely worked, you just can’t see it yet. I press Cancel.
Show output in the viewer pane
Rendering documents produces outputs that can be viewed in different ways. I highly suggest viewing outputs in the viewer pane, this way you won’t have any pop-up blocker issues.
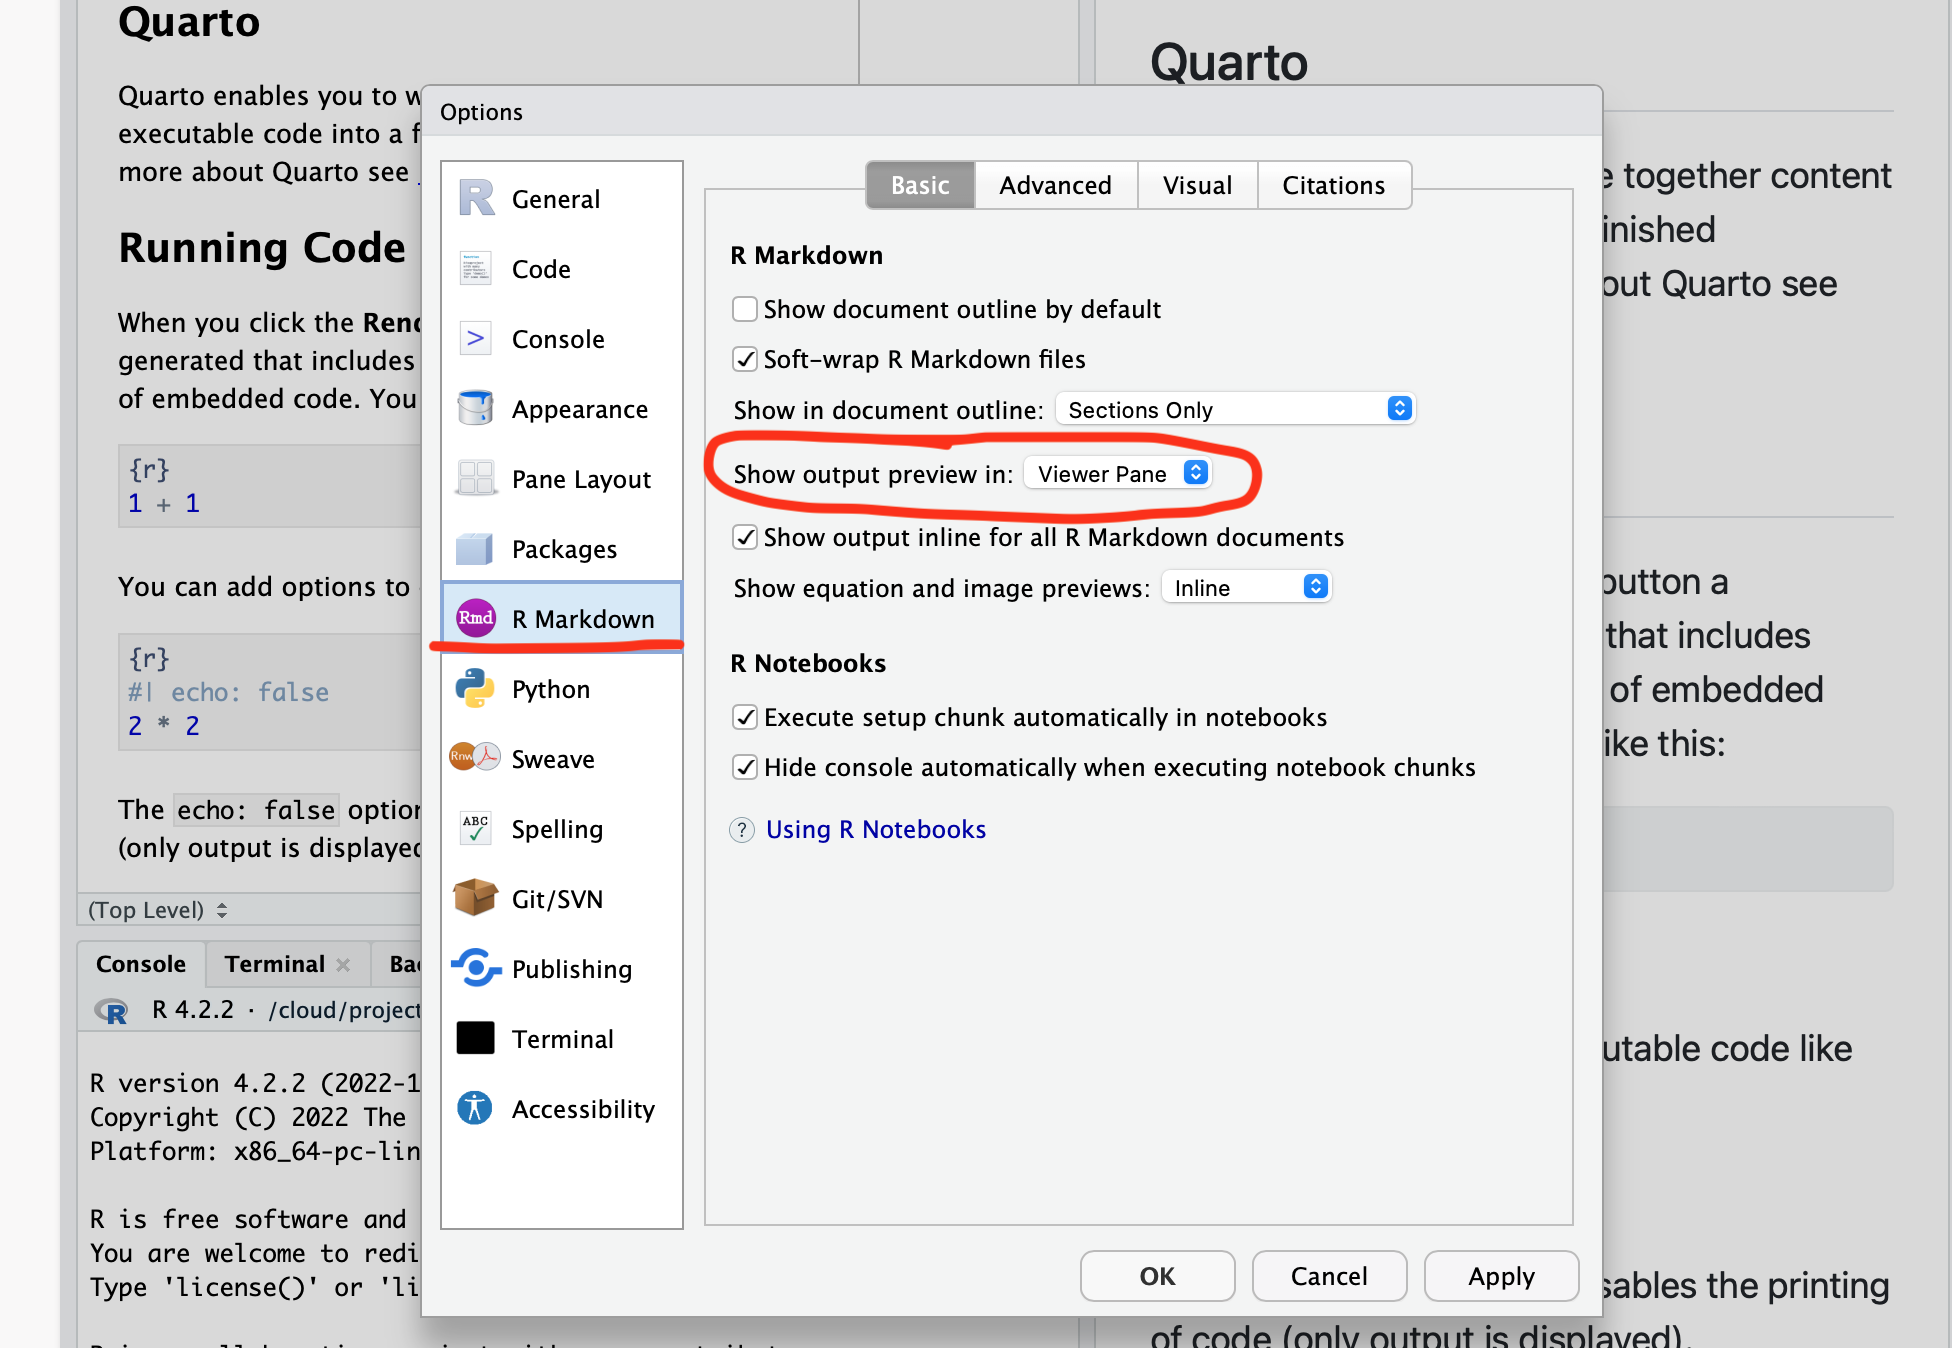
Go to the tools menu, and select Global options:
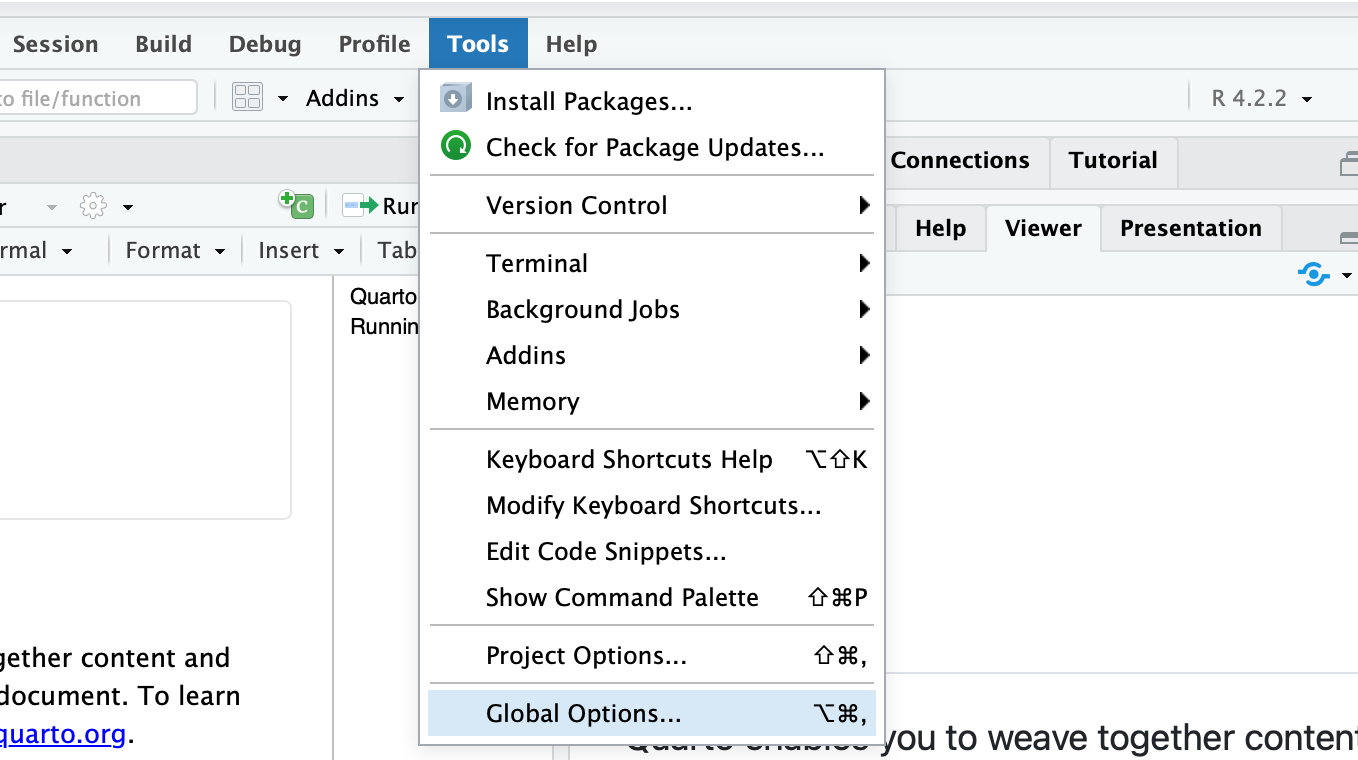
Then, find the Rmarkdown menu, and choose the viewer pane output option, and choose Apply, if the window doesn’t close, choose OK.
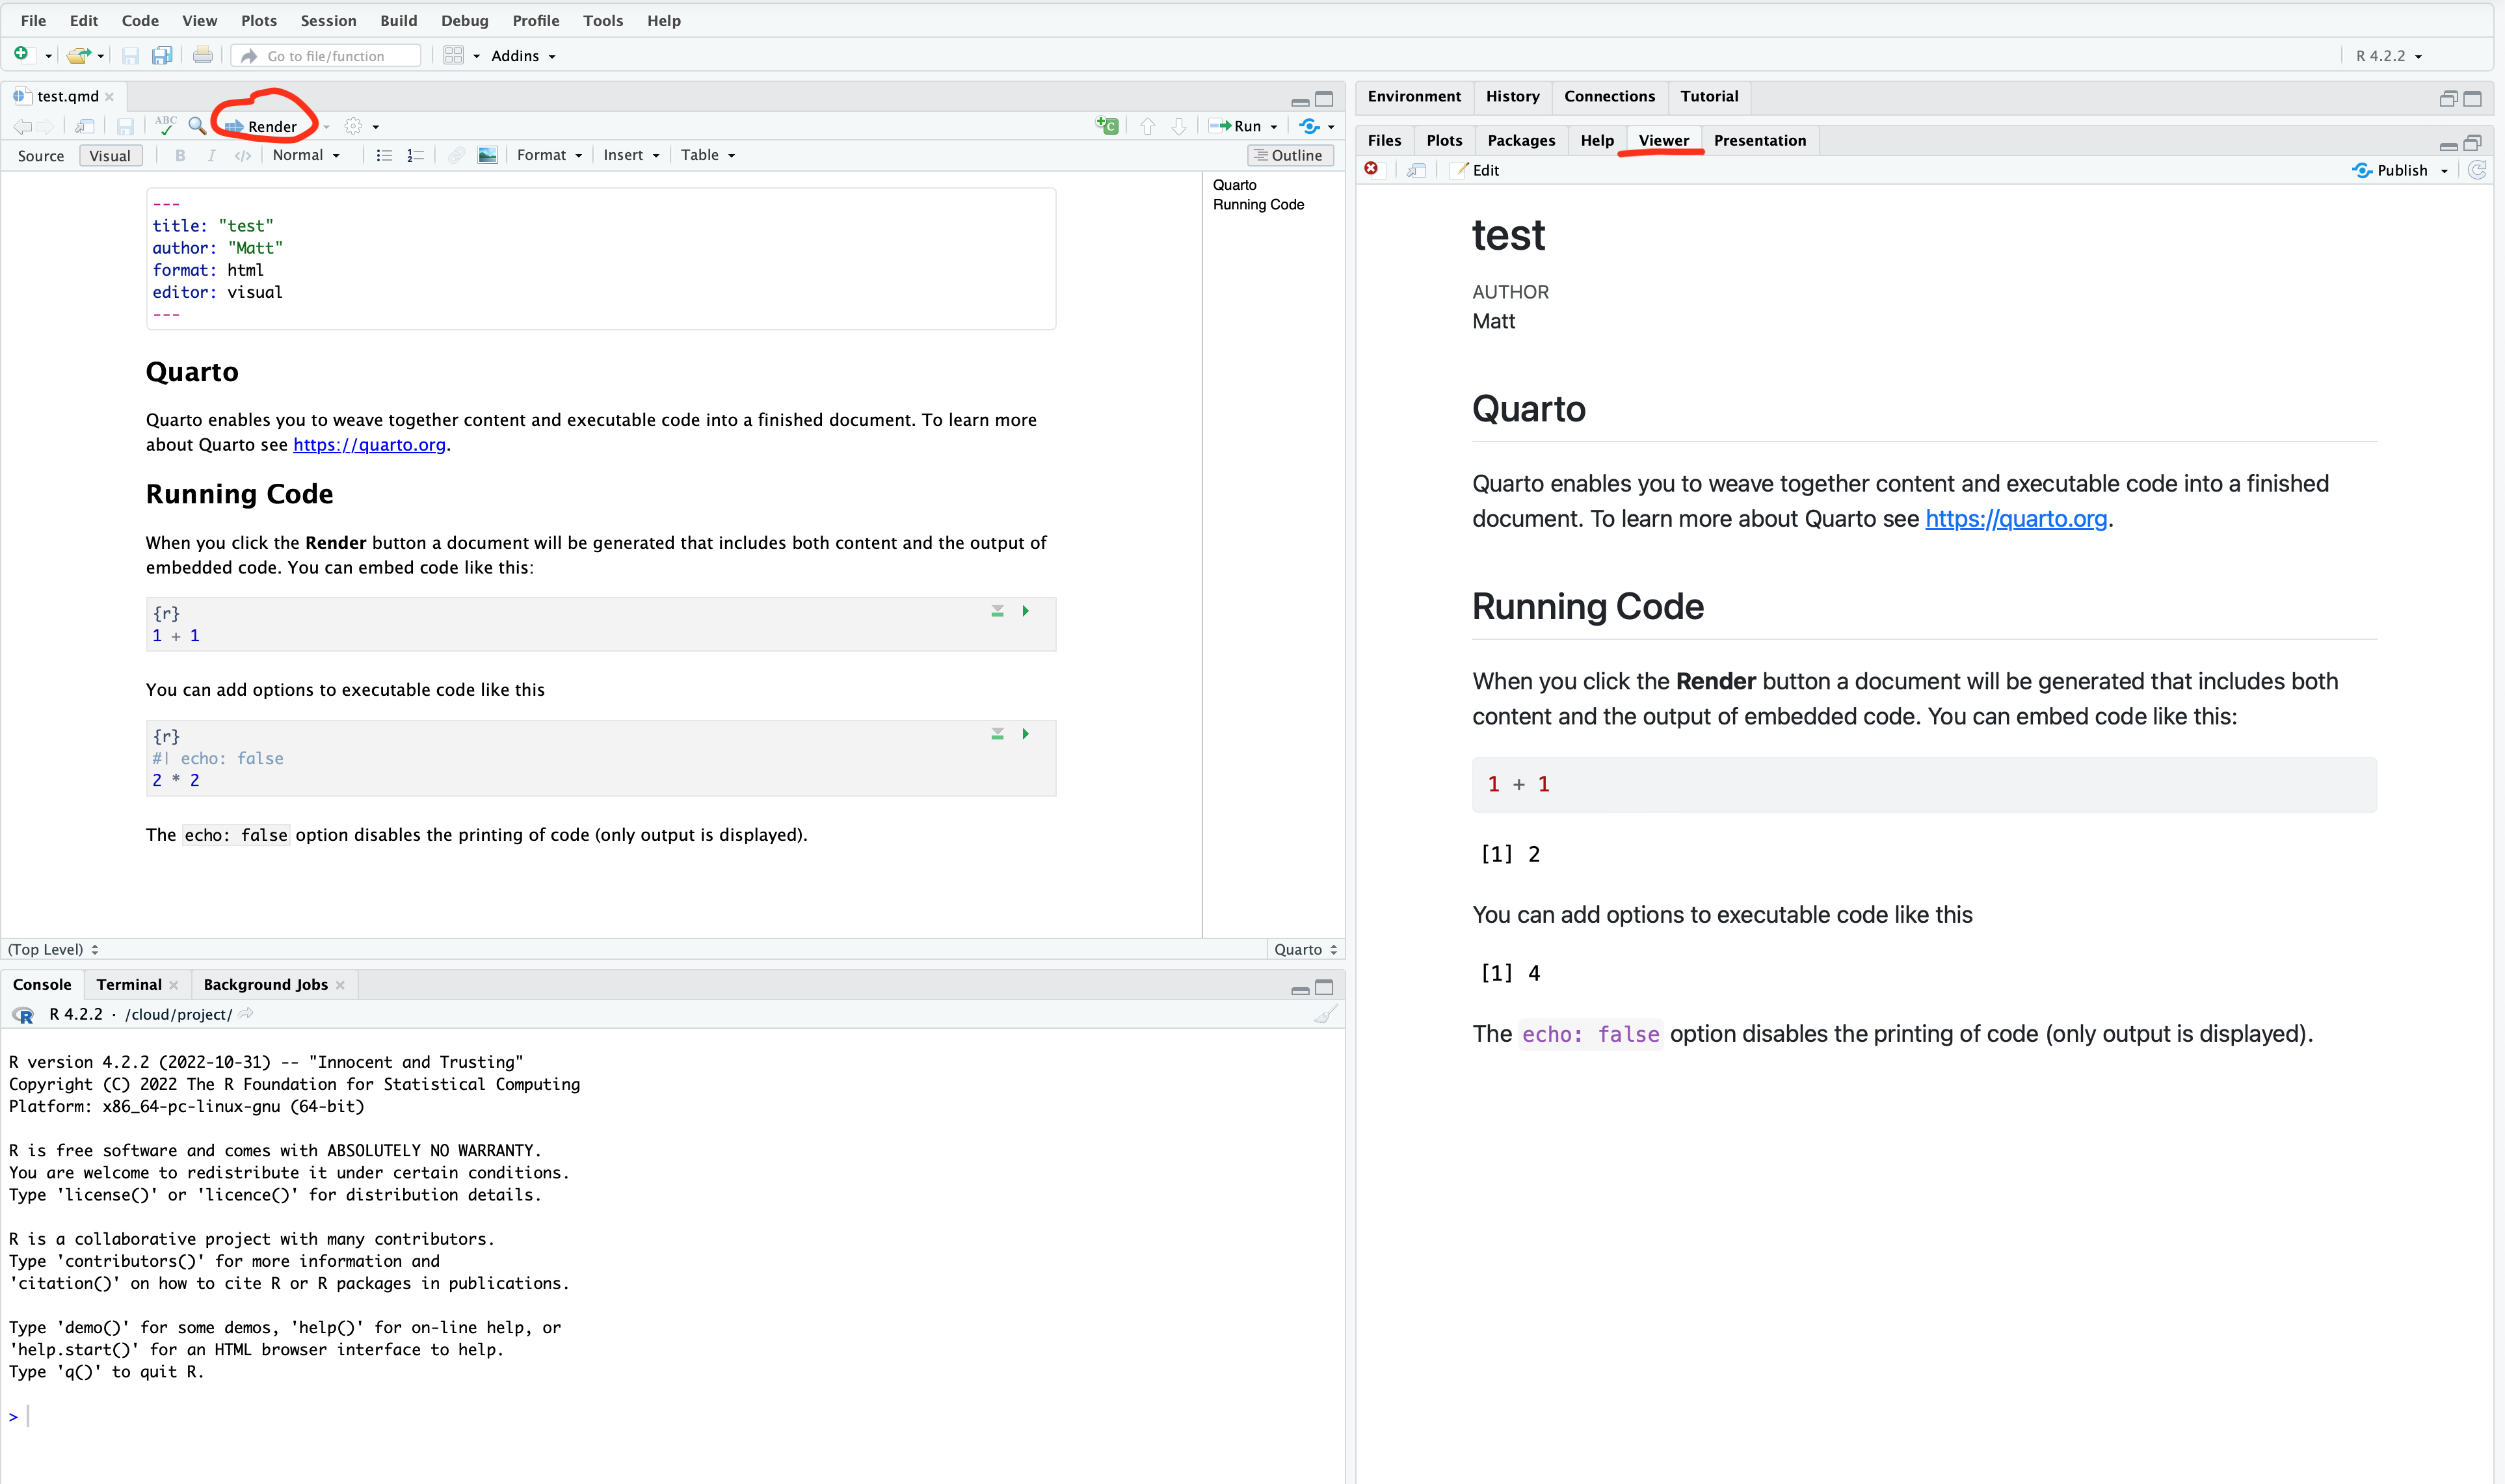
Now, “Render” the document again, and you should see the output in the viewer pane tab.
Datascience in a box example
In our second class we tried to use the lab computers to reproduce the analysis from this source code:
The lab computer software needed updates and was unable to compile the document. We should be able to do this no problem in a posit cloud environment.
- Make a new quarto doc, like above.
- Replace the contents of the document with the source code from the above link.
Let’s use the “Source” editor which shows the plain text.
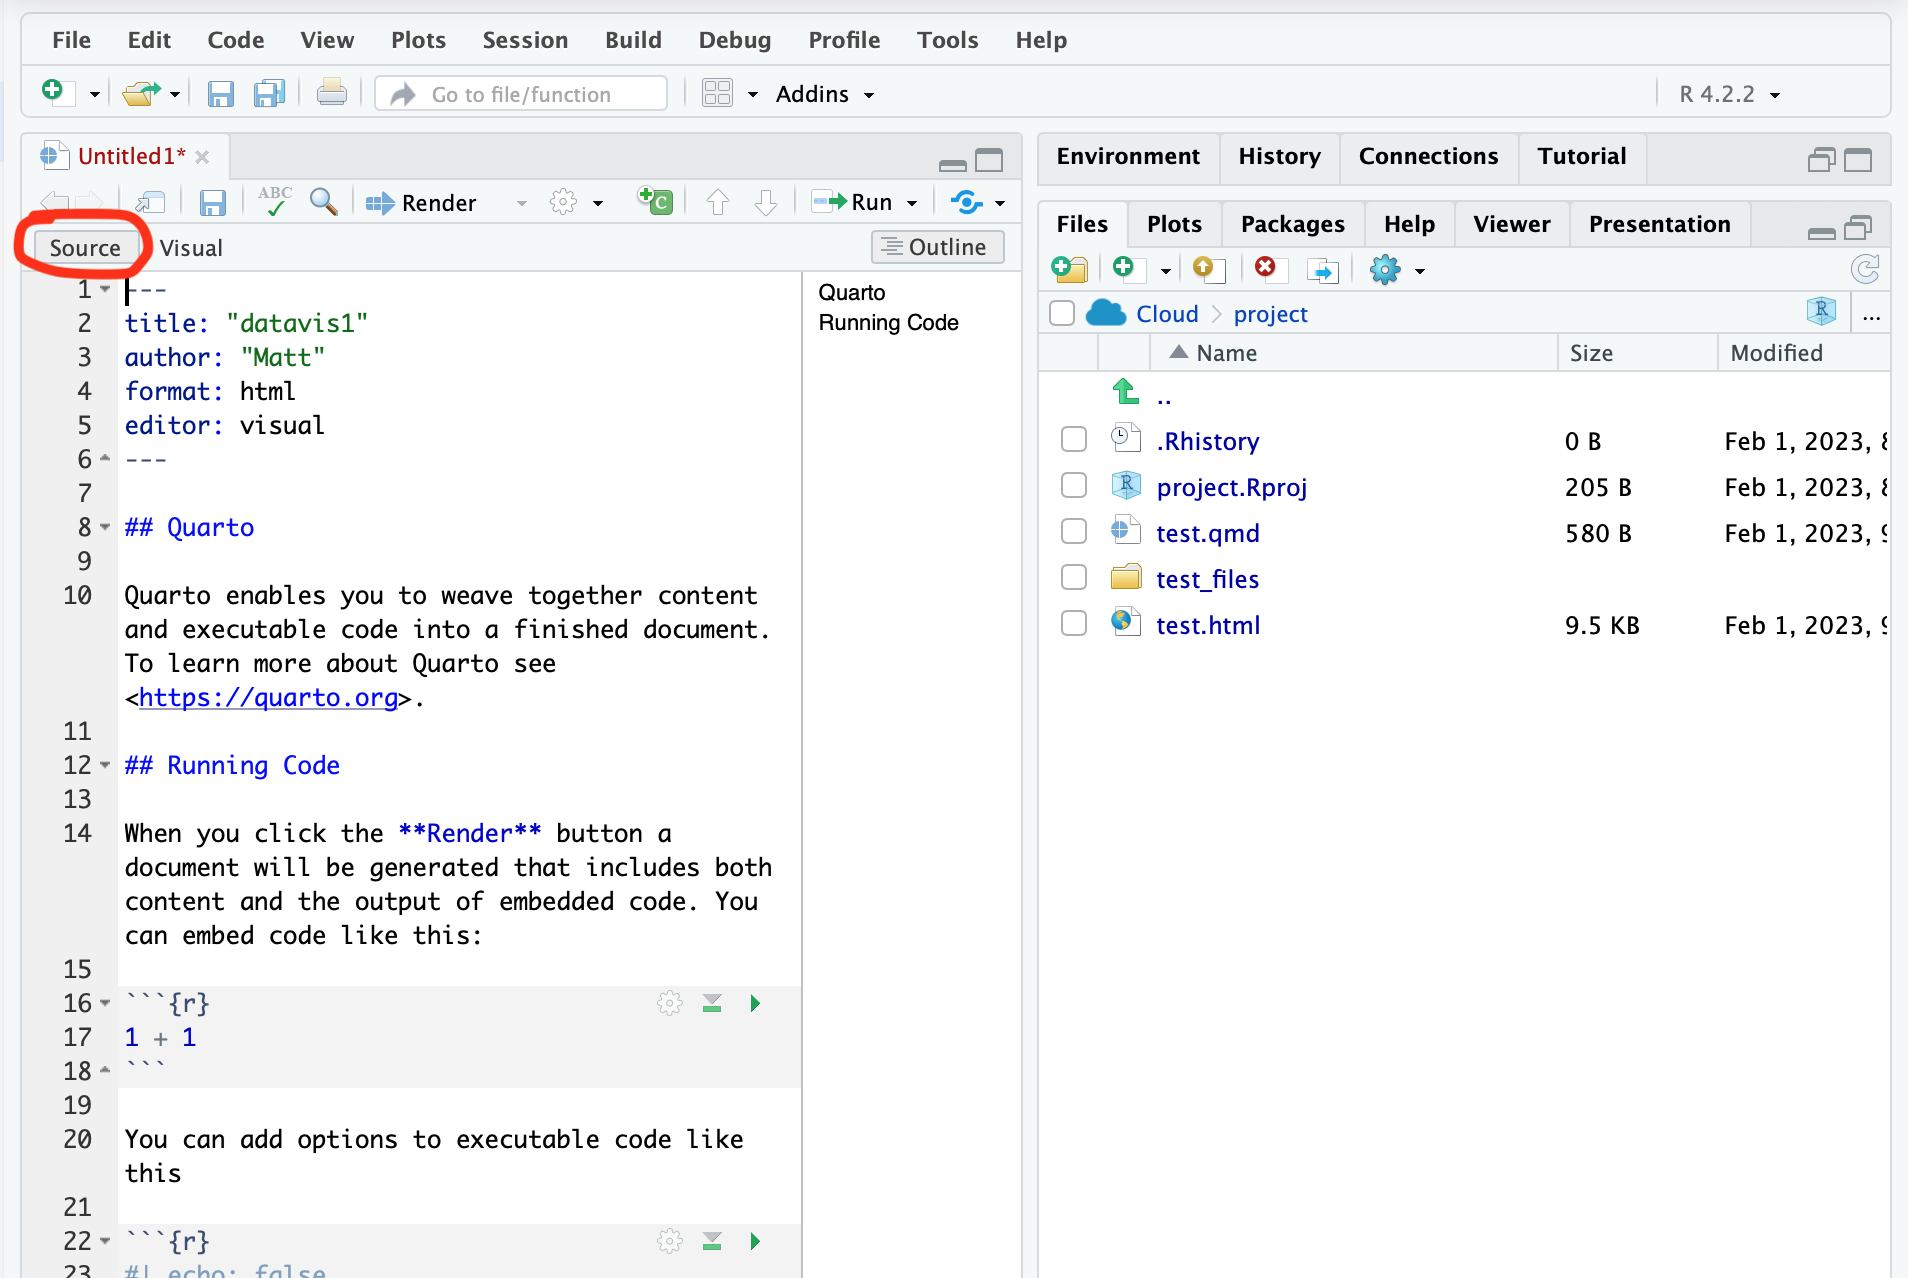
Delete all of the text, and replace it with the source code in the link. My document is still called Untitled1 (it’s in red), and needs to be saved.
I saves it as “Datavis1.qmd”, and then I see a message saying I need to install some packages. Click install.
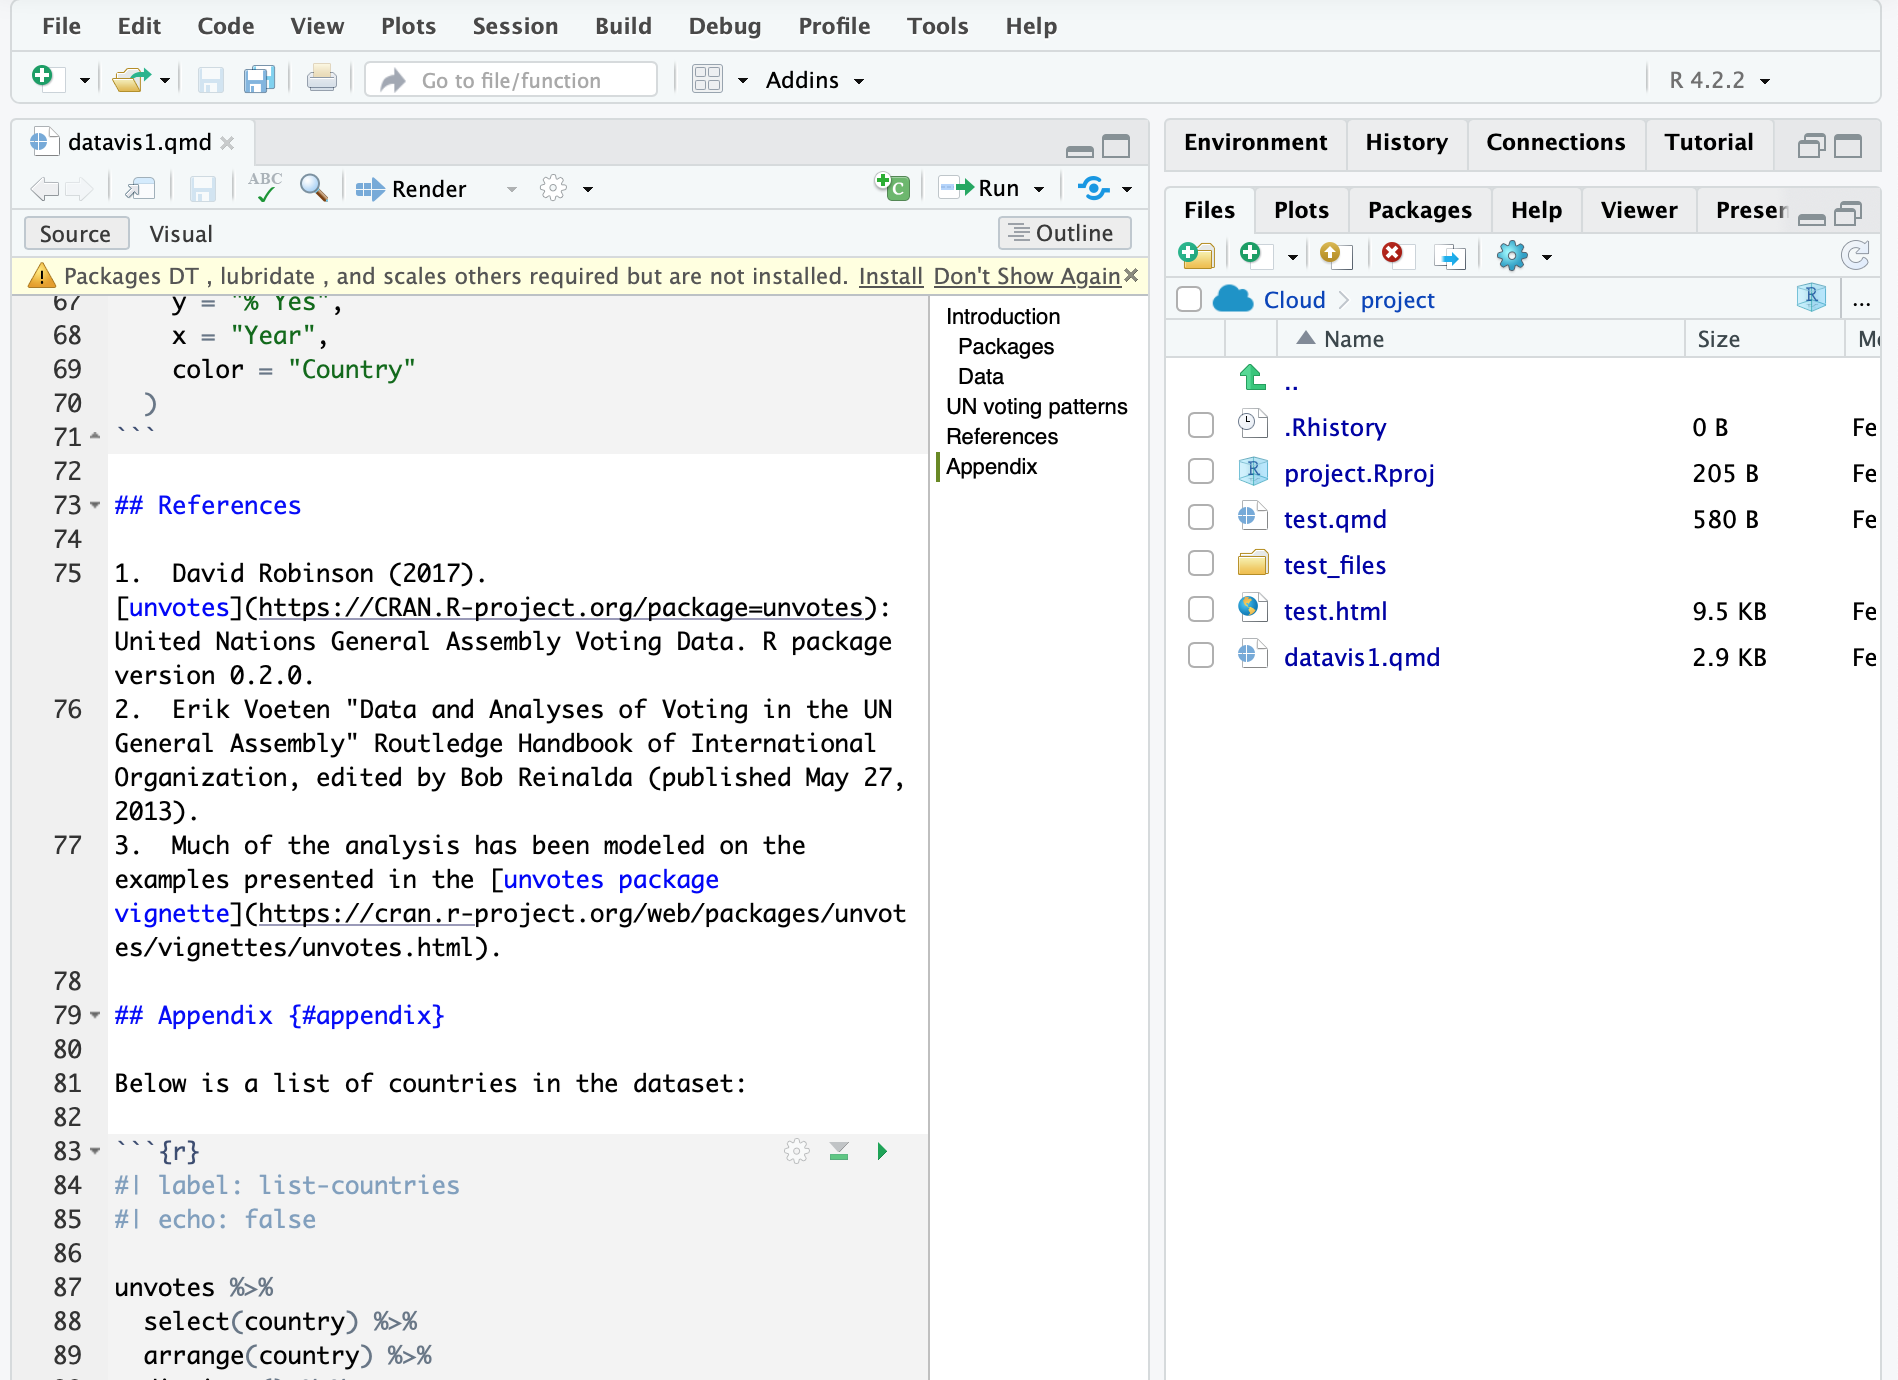
There ’s a timer, let’s see how long it takes to install…about 56 seconds.
After that you should be able to render and view the document.
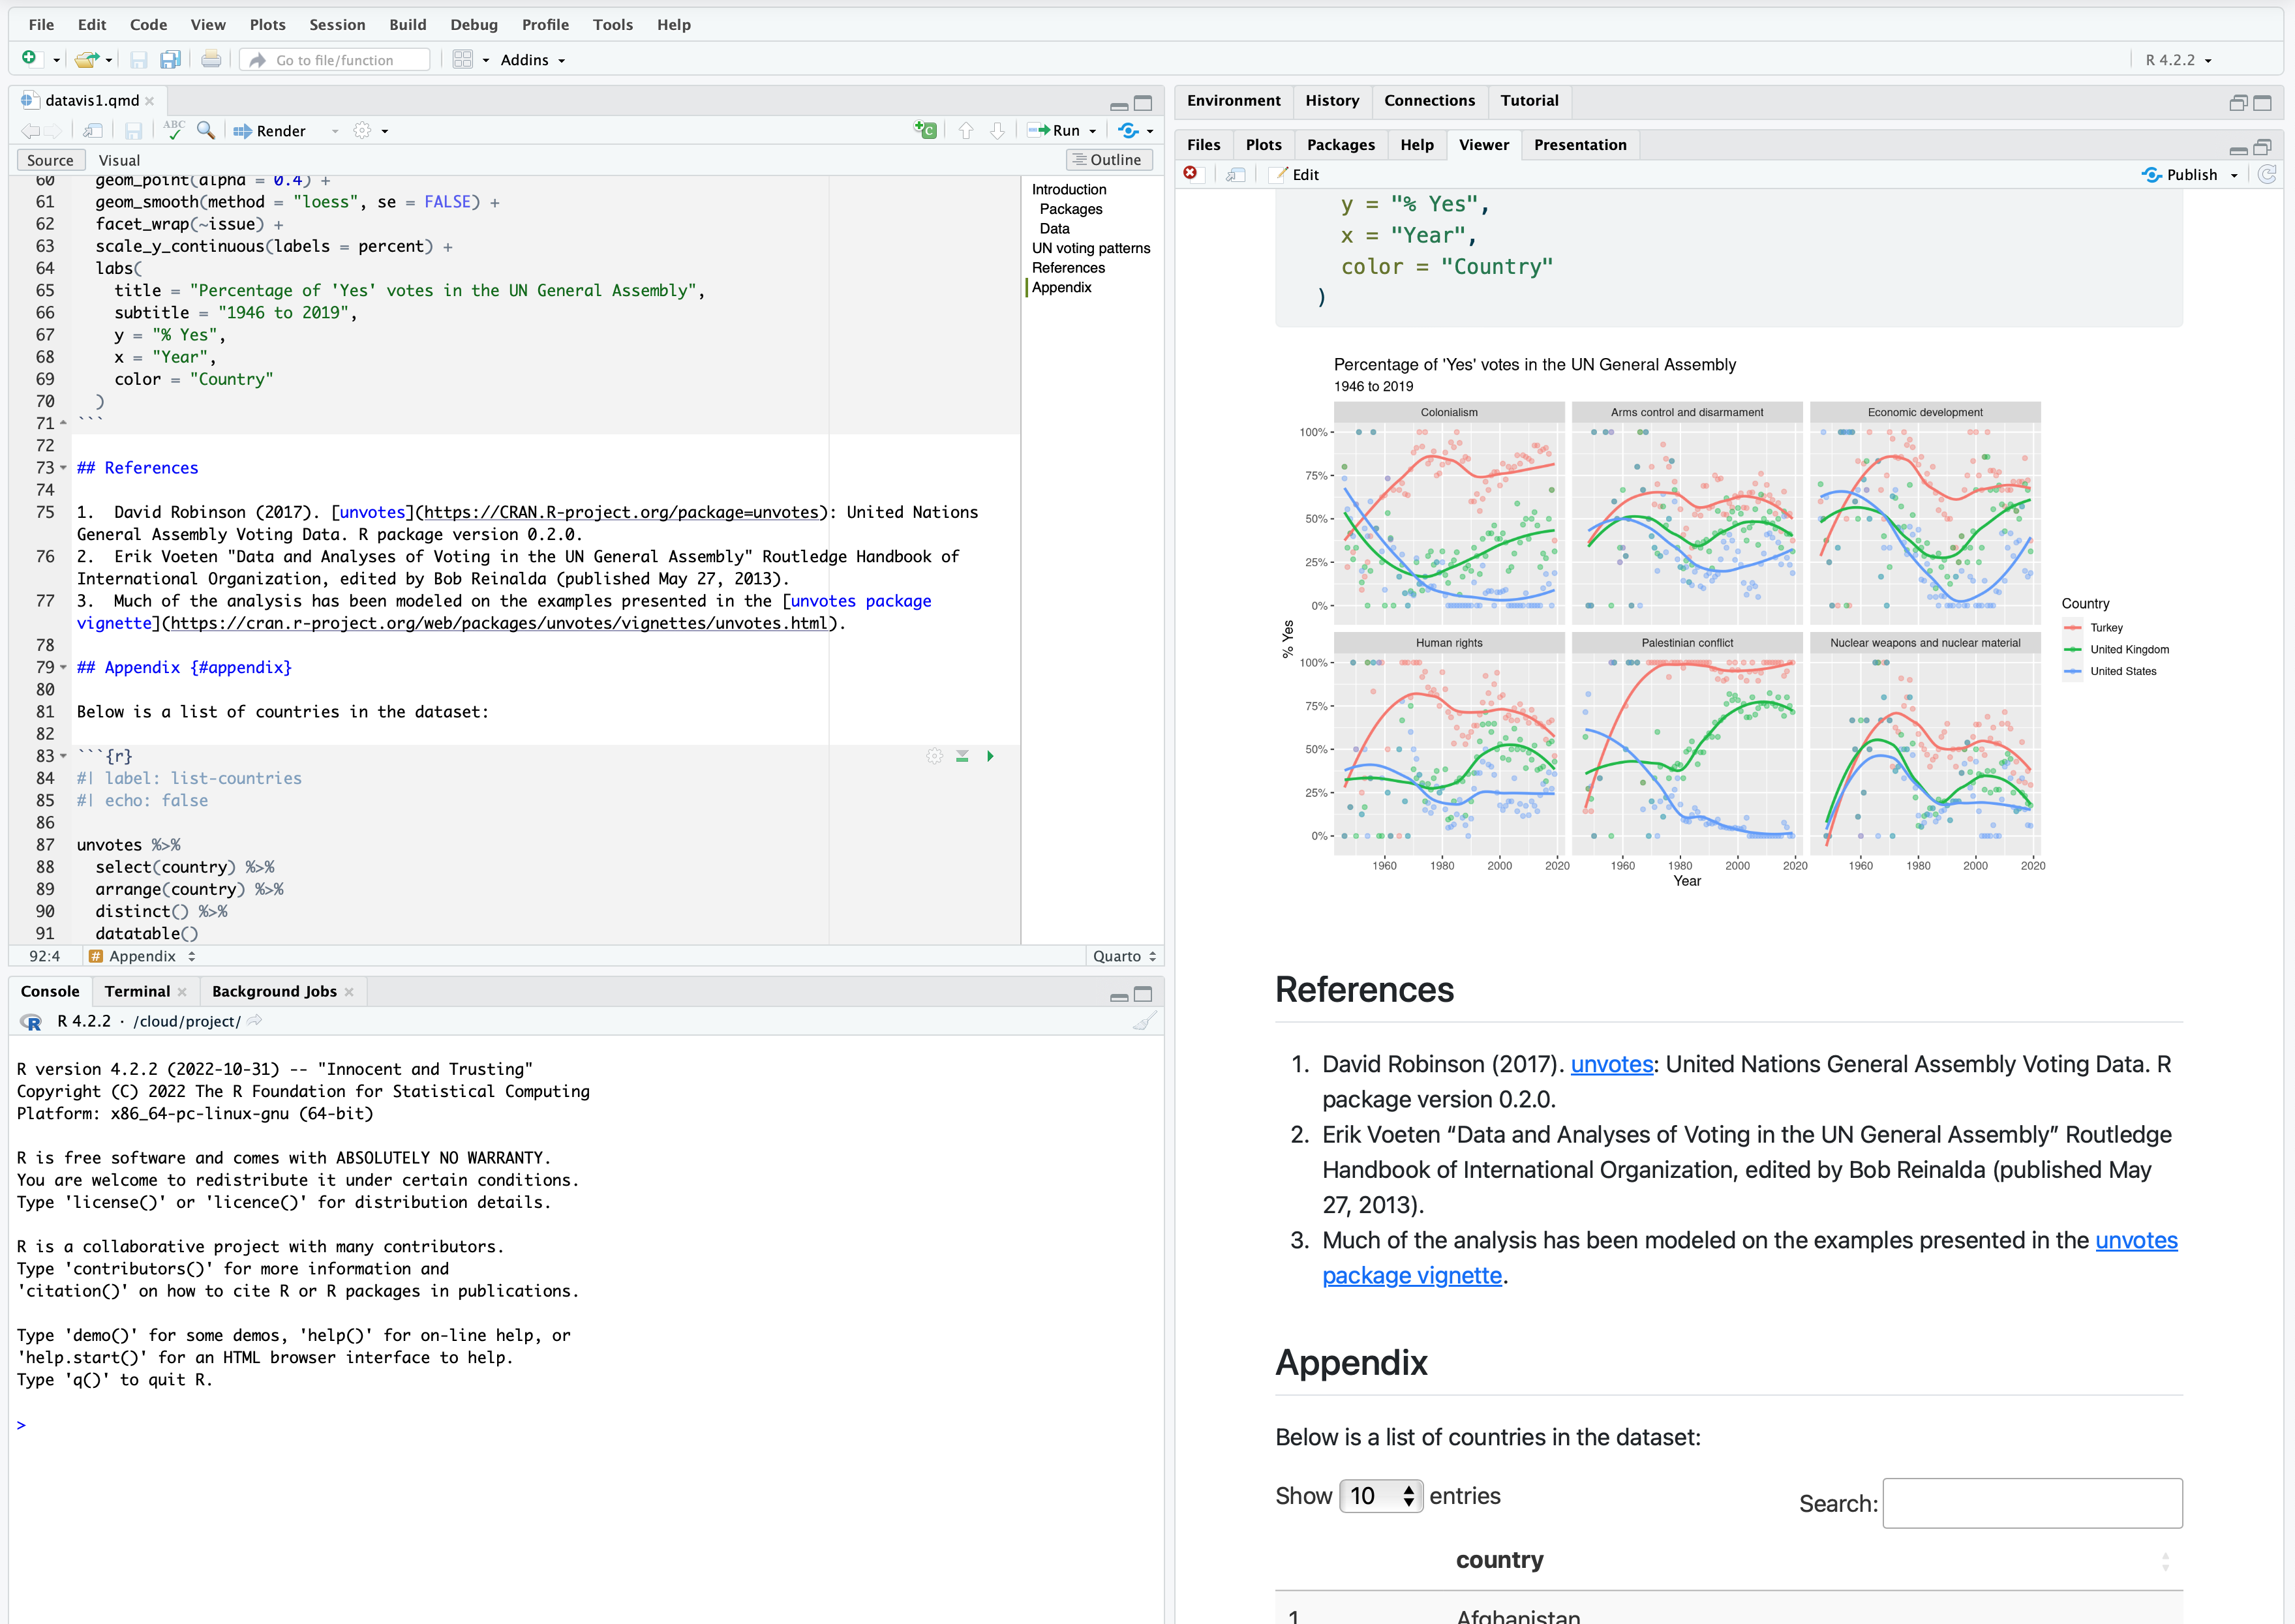
Success!
Quarto Blog
This section provides instructions on using posit cloud to create and run your quarto blog.
NOTE: when you create a new project on posit cloud you do not get the option to create a quarto blog project. We will use another method involving copying the contents of a github repository.
I created a github repository called quartoCourseBlog for this purpose. The link is:
https://github.com/CrumpLab/quartoCourseBlog
The instructions for using this with posit cloud are contained in the repository, just keep scrolling down in the readme.md. The instructions are also re-printed here, along with a video tutorial.
- Sign up for a free account with posit cloud here https://posit.cloud/plans/free
- Sign up for a free https://github.com account.
- Log in to Github, and search for this repository https://github.com/CrumpLab/quartoCourseBlog.
- Click the green “Use this template” Button
- This will make a copy of the template in your github account, it will show up as one of your repositories
- Give your new repository a name
- Activate Github pages for your repository (under repository settings), and serve the page from the “docs” folder. You should now be able to view the blog from the url given by github pages.
- Log into Posit Cloud
- Create a New Project, choose “New Project from Git Repository”
- enter the URL to the github repository you just made
- Load the project, and edit/modify the files (see above for examples of creating new posts etc.)
- To send your changed files back to github.com you need to do a few steps
- From the Git tab: stage your changes, commit your changes, and push your changes using the green up arrow.
- You will also need to authenticate your git credentials, and allow Rstudio cloud to update your github repository
- In the terminal run these two lines, but replace with your name and email
git config --global user.name "Your Name"
git config --global user.email "you@example.com"- When you “push” your changes back to Github using the green up arrow, you will be asked to enter a username and password. You can enter the username for your Github.com account, but your password won’t work. You need to set up a personal access token.
- Go to your github.com profile > settings page. Scroll down, click on “<> Developer Settings”, on the left
- Click on personal access tokens, generate a new token, give it repo access. Save the text somewhere and use it as your github password when pushing from RStudio.
- At this point you should be able to work on your blog in Rstudio Cloud, and push your changes to have them updated on github.com, which serves your blog online.